Introduction: In 2026, Smart Upgrades Beat Smart Shopping
Do you still have an old iPod, Game Boy, feature phone, or unused monitor lying around?
In 2026, upgrading old gadgets is no longer just a niche hobby. It’s a smart response to rising tech costs and growing electronic waste. Instead of buying new devices every year, people are rediscovering the power of rebuilding what they already own.
The DIY Old Gadgets Upgrade 2026 movement focuses on sustainability, affordability, and creativity. This pillar guide brings together the best upgrade ideas, tools, safety notes, and community resources — all in one place.
Whether you’re a beginner or an intermediate maker, this is your starting point.
Why Upgrade Old Gadgets in 2026? (The Triple Benefit)
1️⃣ Environmental Impact
Electronic waste remains one of the fastest-growing global waste streams. According to the World Health Organization, discarded electronics often contain hazardous materials like lead and mercury.
Reports from the United Nations and the Global E-waste Monitor highlight that global e-waste crossed tens of millions of metric tons annually.
By choosing DIY Old Gadgets Upgrade 2026, you:
- Reduce landfill waste
- Prevent toxic leakage
- Support circular economy practices
Small projects, real environmental impact.
2️⃣ Cost Savings
New smart devices are more expensive in 2026 than ever.
Upgrade cost example:
- Raspberry Pi: $20–$30
- Accessories: $20–$40
- Misc cables/tools: $10
👉 Total: ~$50–$80
Compare that to buying a new smart display or streaming device for $200+.
3️⃣ Skill Development
These projects help you learn:
- Basic electronics
- GPIO wiring
- Linux setup
- IoT fundamentals
Perfect for students, hobbyists, and STEM learners.
Who Should Try DIY Old Gadgets Upgrade 2026?
- Students learning electronics
- Budget tech enthusiasts
- Parents looking for STEM activities
- Sustainability supporters
- Retro tech lovers
If you enjoy building instead of buying — this trend is for you.
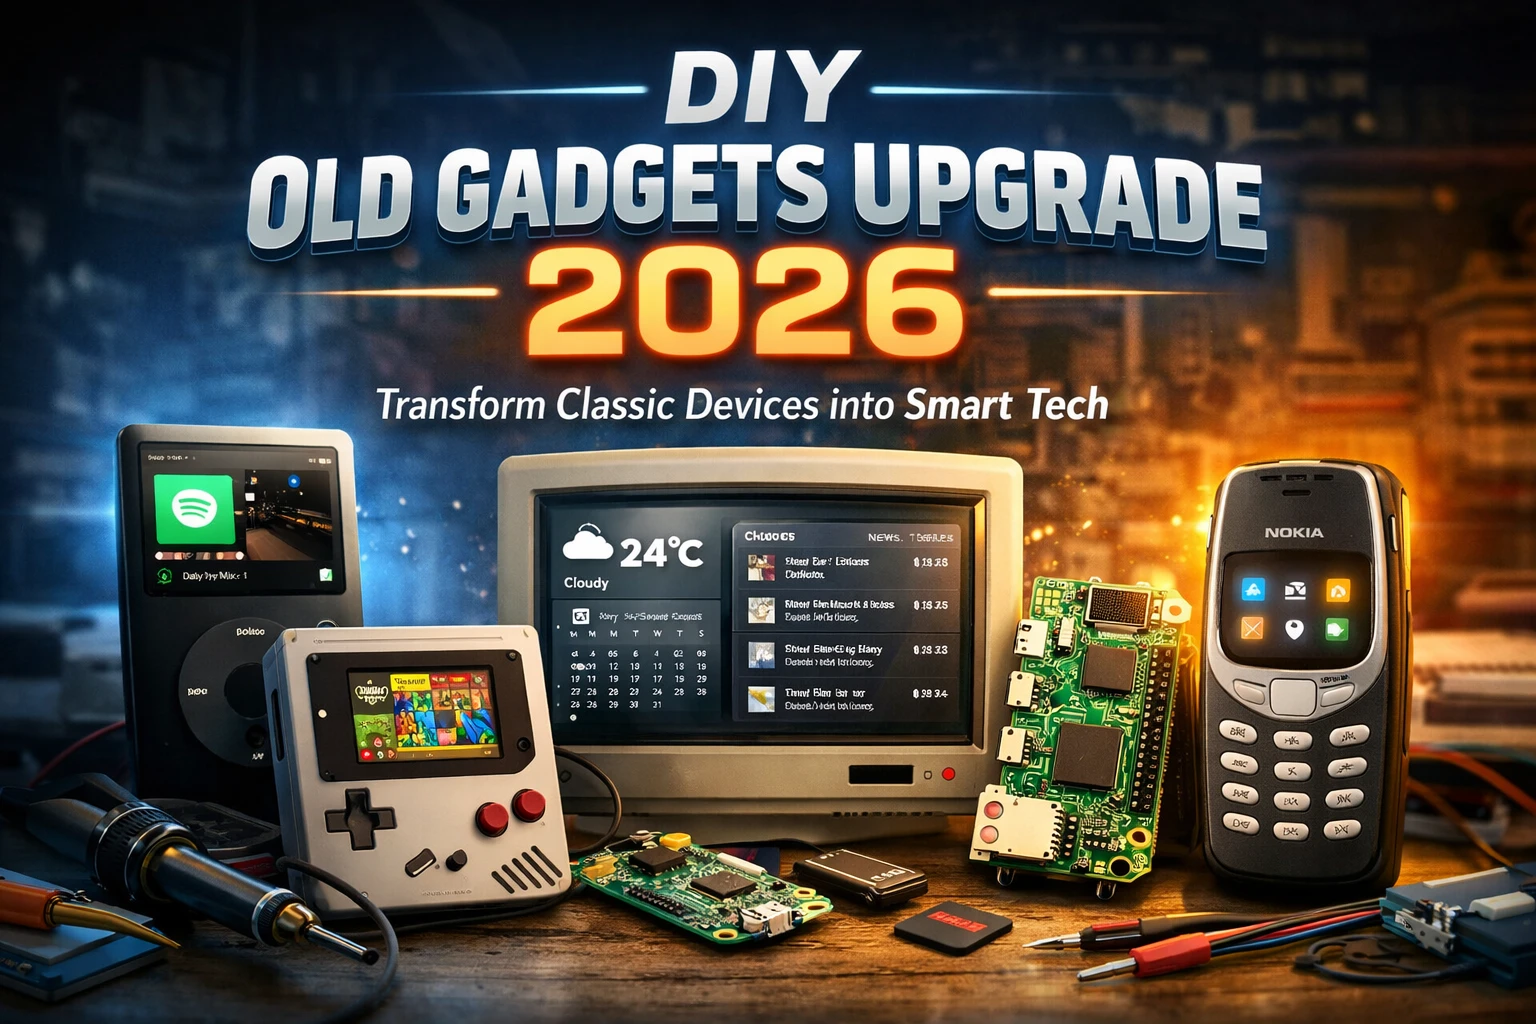
At-a-Glance Project Matrix (2026 Edition)
| Project | Time | Difficulty | Estimated Cost | Outcome |
|---|---|---|---|---|
| iPod → Spotify Player | 2–3 hrs | Intermediate | $40–$70 | Streaming music device |
| Retro Console → Emulator | 2–4 hrs | Intermediate | $60–$90 | Multi-console gaming |
| Old Monitor → Smart Display | 1–2 hrs | Beginner | $30–$60 | Smart dashboard |
| Feature Phone → IoT Controller | 1–3 hrs | Intermediate | $30–$70 | Smart keypad remote |
Project Overviews – DIY Old Gadgets Upgrade 2026
1️⃣ iPod → Spotify Player
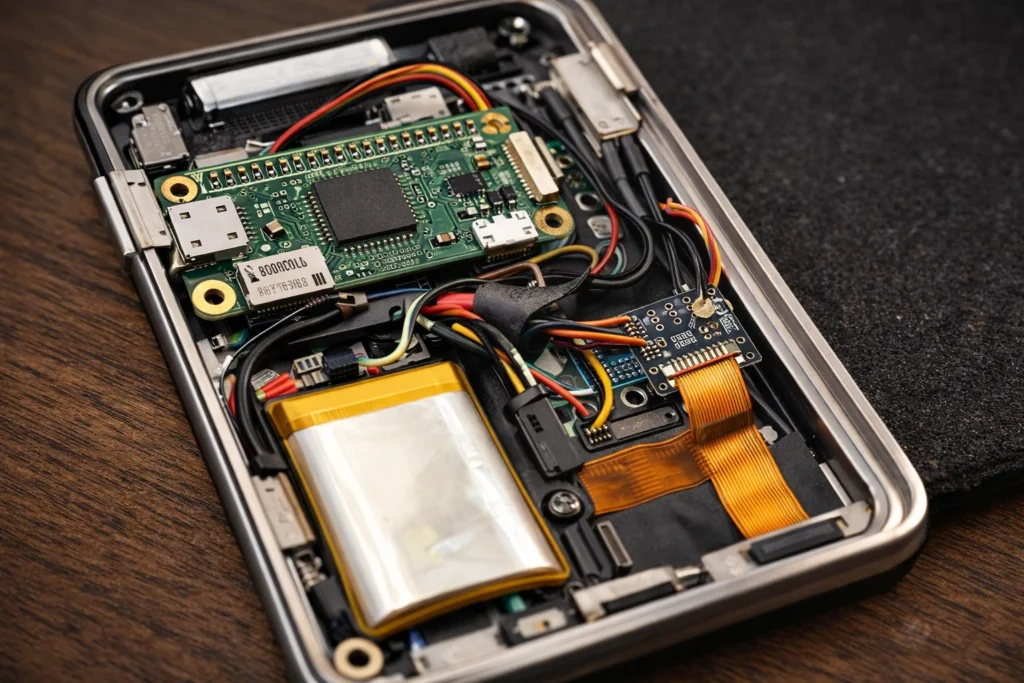
Replace the internal board with Raspberry Pi Zero 2 W and install streaming software.
Main parts:
- Raspberry Pi Zero 2 W
- Click wheel adapter
- LiPo battery
- Audio output module
Result: Classic design + modern streaming.
For a complete build walkthrough including Raspberry Pi setup and click-wheel integration, read our full guide on
how to turn your old iPod into a Spotify player.
2️⃣ Retro Console → Emulator
Install RetroPie on Raspberry Pi and convert old console shells into multi-system gaming machines.
Better emulator optimization in 2026 means smoother gameplay.
If you want the full setup process, including installing RetroPie and configuring controllers, follow our detailed
Retro Gaming Emulator DIY guide.
3️⃣ Old Monitor → Smart Display
Connect Raspberry Pi via HDMI and install
MagicMirror²
Display:
- Weather
- Calendar
- News
- Smart home data
Ideal beginner project.
For a beginner-friendly walkthrough using Raspberry Pi and dashboard software, check our tutorial on
how to convert an old monitor into a smart display.
4️⃣ Feature Phone → IoT Controller
Replace internal board with
ESP32
Program key sequences to send MQTT commands to smart home hubs.
Durable, low-power, highly practical.
You can also explore our step-by-step tutorial on
building a feature phone IoT controller using ESP32 and keypad triggers.
Upgrade vs Buy New (Quick Comparison)
| Factor | Upgrade Old Gadget | Buy New Device |
|---|---|---|
| Cost | Lower | Higher |
| Customization | Full control | Limited |
| Sustainability | Eco-friendly | Adds e-waste |
| Learning Value | High | Low |
⚠ Before You Start – Safety Checklist
✔ Never open CRT monitors (lethal voltage risk)
✔ Remove swollen batteries carefully
✔ Dispose batteries at approved centers
✔ Perform secure data wipe
✔ Use legally owned game backups only
Safety is not optional.
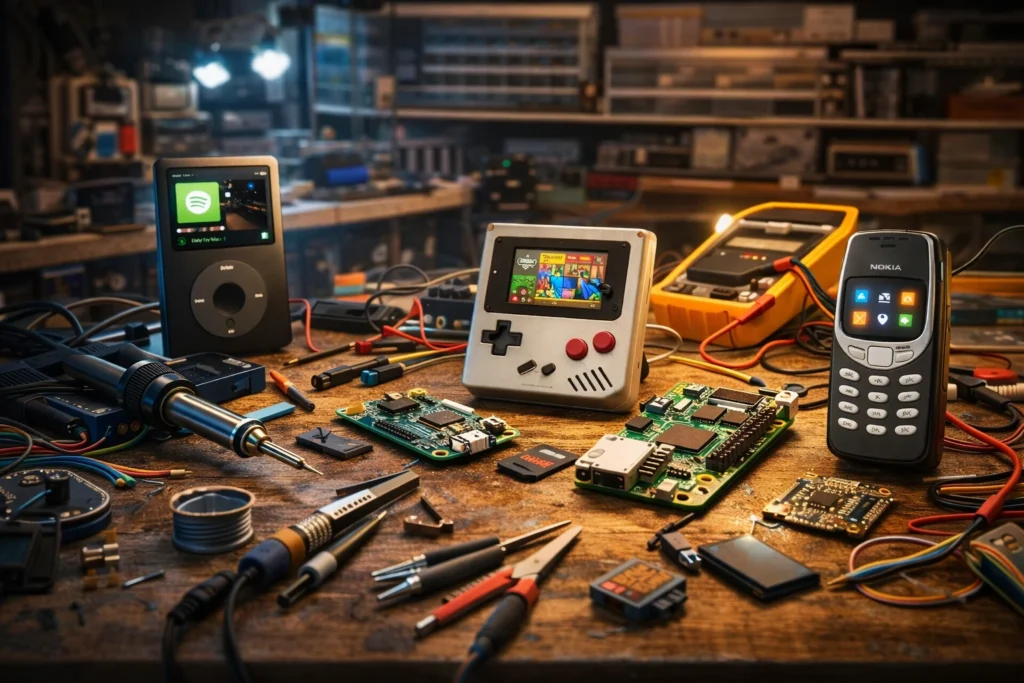
Tools & Core Components (2026 Pricing)
| Component | Use Case | Approx Cost |
|---|---|---|
| Raspberry Pi Zero 2 W | Streaming & display | $20–$30 |
| ESP32 Dev Board | IoT control | $6–$12 |
| USB LiPo Charger | Battery management | $3–$6 |
| High-Speed MicroSD | OS storage | $10–$18 |
Community & Support Resources
Helpful platforms:
Active communities like r/retrotech and r/diyelectronics are great for troubleshooting.
Realistic Expectations (Important)
- Beginners may take double the estimated time
- Soldering mistakes are common initially
- Debugging takes patience
DIY Old Gadgets Upgrade 2026 is rewarding — but not instant.
Final Thoughts
DIY Old Gadgets Upgrade 2026 proves one thing clearly:
Innovation doesn’t always mean buying new hardware.
You save money.
You reduce waste.
You gain real technical skills.
Start with the Smart Display if you’re new.
Try the iPod or Retro Console build if you’re confident.
Your next smart device might already be sitting in your drawer.
FAQs – DIY Old Gadgets Upgrade 2026
Q1. Can I turn an iPod into a Spotify player?
Ans. Yes, absolutely. This is one of the most popular DIY Old Gadgets Upgrade 2026 projects. You replace the original hard drive and motherboard with a small microcontroller (like the Raspberry Pi Zero 2 W) and install software like librespot to enable direct Wi-Fi streaming from Spotify.
Q2. Is it safe to open old CRT monitors?
Ans. Opening old CRT (tube) monitors is generally not recommended for beginners without proper training. CRTs hold a lethal residual electrical charge in their capacitors even when unplugged. For safety, stick to LCD monitors for your convert monitor to smart display projects.Q3. How much do these projects cost?
Q3. How much do these projects cost?
Ans. The cost varies greatly. If you already own the old gadget, the expense is mostly for new components. The budget projects (like the smart monitor or feature phone controller) can cost as little as $30–$70. The iPod or full emulator console projects, due to the need for a higher-spec Pi and interface boards, usually range from $50–$120 for the parts.
Q4. Do I need soldering skills for DIY Old Gadgets Upgrade 2026 projects?
Ans. For the more complex DIY Old Gadgets Upgrade 2025 projects like the iPod upgrade and retro console, basic soldering skills are necessary to connect power leads and interface boards. However, simpler projects like the Smart Monitor Dashboard often only require plugging in pre-built modules and software configuration.
Q5. Can I control smart home devices with old phones?
Ans. Yes, by converting the device into a feature phone IoT controller using an ESP32, you can program the keypad to send messages (like MQTT) to control smart devices or even use it as a robust, low-power, offline 2FA token generator.
Q6. How to legally get classic game ROMs?
Ans. The only legal way to obtain classic game ROMs is to create digital backups of the physical game cartridges or discs that you already own. Downloading ROMs from the internet, even for games you possess, often infringes on copyright laws.
Q7. Will modifications void device resale value?
Ans. Yes, modifying a classic gadget will generally destroy its value as a collectible vintage item. For your DIY Old Gadgets Upgrade 2025 projects, it is always recommended to use devices that are already broken or have little resale value.
Q8. Where to find parts and community help?
Ans. Microcontrollers (Raspberry Pi, ESP32) and small parts are best purchased from reputable online electronics retailers. For community help, troubleshooting, and custom code, check open-source platforms like GitHub and forums like Reddit’s r/retrotech.