1. Introduction: Give Your Old Screen a Purpose
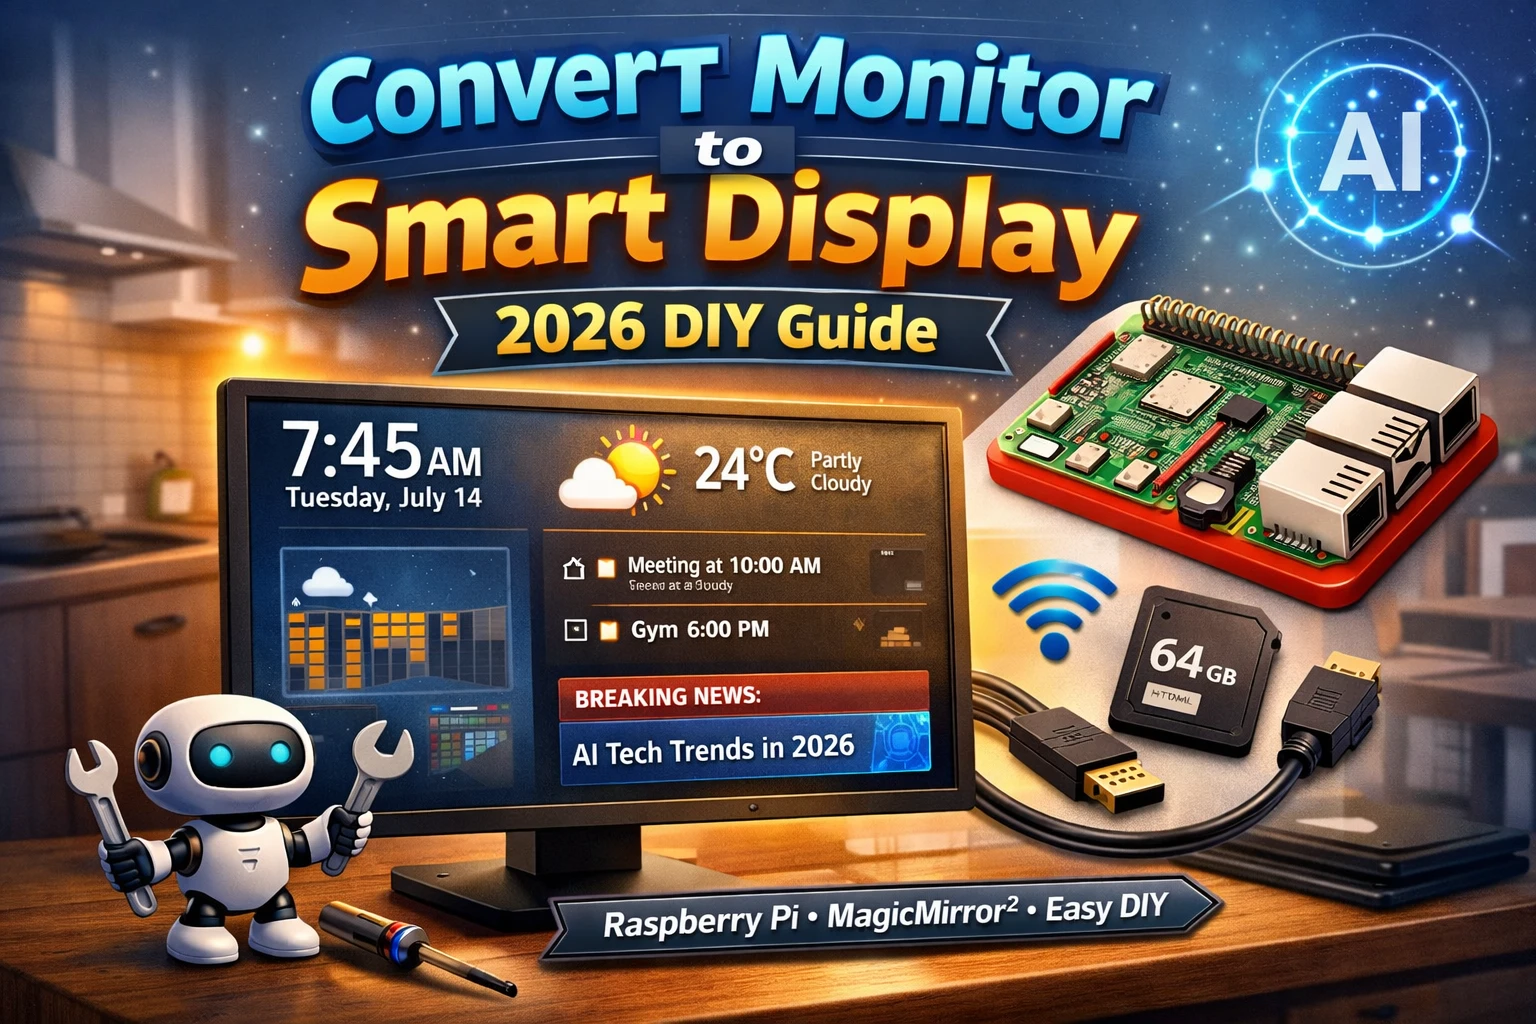
Do you have an unused computer monitor collecting dust in your storage closet? If yes, it might be the perfect time to convert monitor to smart display and give that old screen a completely new purpose. Instead of selling it for a low price, you can turn it into a dynamic, always-on information hub for your home.
This is one of the simplest and most practical projects in the DIY Old Gadgets Upgrade 2026 movement. This guide explains how to convert monitor to smart display using a Raspberry Pi, even if you have no prior DIY experience.
With the launch of Raspberry Pi 5 and improved smart dashboard software, it has become easier than ever to convert monitor to smart display with better performance and stability. Modern dashboards can now integrate AI widgets, smart home data, calendars, and automation alerts, making this upgrade even more useful in 2026.
In this complete guide, you’ll learn how to convert monitor to smart display step-by-step and transform it into a personalized dashboard for your home, office, or kitchen. Using affordable hardware and free software like MagicMirror², you can build a digital calendar, weather station, news panel, or even a smart photo frame.
Instead of buying an expensive smart display, this convert monitor to smart display project gives you a budget-friendly, customizable, and beginner-friendly alternative.
2. Why Choose the Convert Monitor to Smart Display DIY?
This project is the perfect entry point into hacking and coding within the DIY Old Gadgets Upgrade 2026 initiative.
Simplicity and Low Cost
Unlike the iPod or retro console projects, this DIY rarely requires soldering. The primary skills are plugging in components and configuring software. This ease of setup makes the convert monitor to smart display hack popular. If your monitor already has an HDMI port, the cost of materials can be as low as $30–$50 (just the cost of the Raspberry Pi and mounting hardware).
High Impact Use Cases
Once you convert monitor to smart display, its uses are endless:
- Kitchen Dashboard: Display recipes, timers, and your grocery list.
- Home Office: Show a dynamic meeting schedule, stock tickers, and news feeds.
- Art Display: Cycle through high-resolution digital art or family photos.
Reuse and Reduce
By choosing to upcycle old gadgets like monitors, you significantly cut down on electronic waste. Your old monitor, which might have been destined for the landfill, becomes the centerpiece of a functional new device.
3. Hardware and Parts Checklist: Minimalist Approach
The beauty of this project is its minimal hardware requirement. We are building a low-power brain to feed data to your existing screen. Getting the right parts is easy when you plan to convert monitor to smart display.
| Component | Why You Need It |
|---|---|
| Microcontroller (The Brain) | For 2026 projects, Raspberry Pi 5 is recommended for smoother animations and faster dashboard loading, while Raspberry Pi 4 remains a good budget choice. |
| Power Supply | Official Raspberry Pi Power Supply (Crucial for stability). |
| Input/Output | HDMI or HDMI-to-VGA/DVI Adapter (Matches your monitor’s input). |
| Storage | 32GB MicroSD Card (High speed recommended). |
| Enclosure | Raspberry Pi Case (Optional, but keeps the Pi protected when mounted behind the monitor). |
| Mounting | Velcro or VESA Mount Adapter (To attach the Pi securely to the back of the monitor). |
Optional Upgrades (2026 Enhancements)
If you want to enhance your smart display further, you can also add:• USB touch frame (to make display interactive)
• Motion sensor (auto wake screen)
• Smart plug (remote power control)
• Small USB speakers (audio alerts)
• Webcam (video monitoring dashboard)These upgrades are optional but can significantly improve your DIY smart
4. The Physical Setup: Steps to Convert Monitor to Smart Display
The hardware phase for this convert monitor to smart display project focuses on connectivity and clean mounting.
4.1 Step 1: Input Check and Adapter Acquisition
Monitor Verification: Check the back of your old monitor. Does it use HDMI, DVI, or the older VGA standard?
Acquire Adapter: If your monitor uses VGA or DVI, purchase the appropriate HDMI converter cable or adapter. Ensure the adapter supports the monitor’s native resolution for the best display quality.
4.2 Step 2: OS Installation and Initial Boot
Flash OS: Download the standard Raspberry Pi OS (the full desktop version is fine for this project). Flash the OS onto your MicroSD card.
Initial Setup: Connect the Pi to a keyboard, mouse, and your monitor via the adapter. Complete the initial setup (Wi-Fi, language, time zone).
Disable Screensaver: Go into settings and ensure all screen-blanking, dimming, and power-saving features are disabled. Your smart display needs to stay on 24/7.
Pro Tip: If you want faster performance, you can also use Raspberry Pi OS Lite and run MagicMirror in kiosk mode. This reduces background processes and improves stability for always-on dashboards.
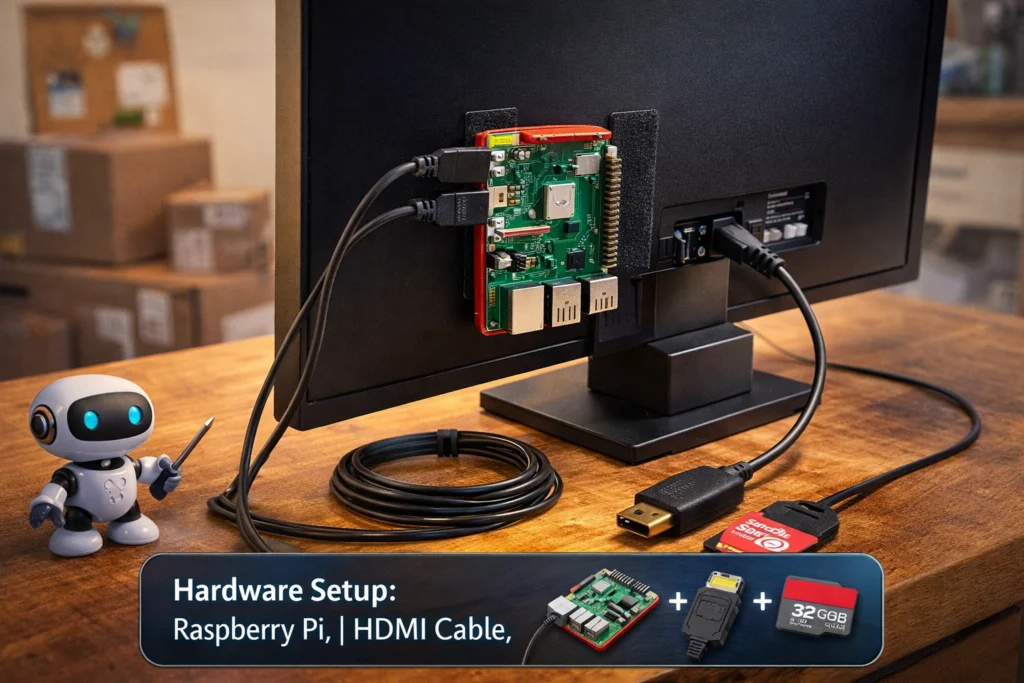
4.3 Step 3: Secure Mounting and Cable Management
Placement: Decide whether you are using the monitor stand or wall-mounting the display.
Pi Mounting: Using strong Velcro strips or a VESA mount adapter, attach the Raspberry Pi and its power adapter securely to the back of the monitor casing.
Cable Management: Use cable ties or tape to secure the power and HDMI cables. The goal is a clean look where the Pi is invisible once the smart display is set up.
5. Step-by-Step Tutorial: Software Configuration (MagicMirror²)
The software component allows you to fully convert monitor to smart display with a personalized dashboard experience. MagicMirror² is the perfect free platform for this purpose.
5.1 Step 4: Installing the MagicMirror² Dashboard
We will use the open-source MagicMirror² platform, which is ideal for this type of display.
- Install Dependencies: Use the terminal (via SSH or directly on the Pi) to install Node.js and other necessary libraries.
- Important: For 2026 compatibility, make sure you install Node.js version 18 or newer because older versions may cause module compatibility issues.
- Download & Install: Clone the MagicMirror² repository from GitHub. Most users opt for the easy one-line installer script provided by the community.
- Auto-Start: Configure the OS to launch MagicMirror² automatically at boot-up, removing the need for a mouse or keyboard.
MagicMirror² official GitHub repository
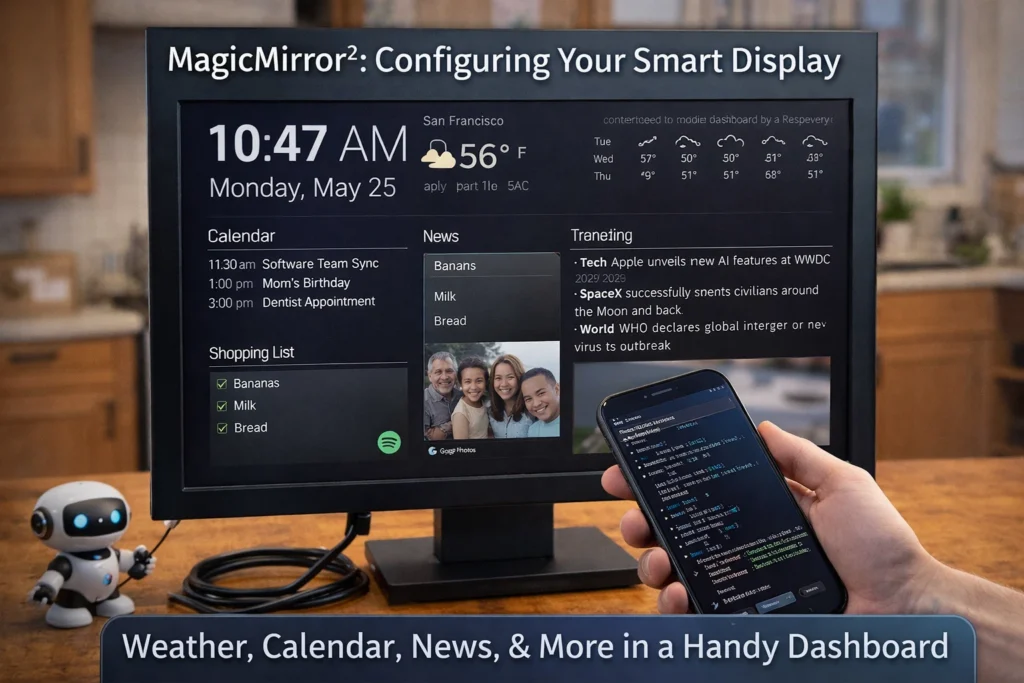
5.2 Step 5: Customizing the Modules
This is where you personalize your smart display. MagicMirror² works with modules (small widgets) that you can position and configure.
Core Modules: Configure basic modules like Clock, Weather, and Calendar by editing the config.js file.
Third-Party Modules: Integrate data from services you use. Popular choices include:
- Google Photos Module: Cycles through family photos.
- Trello/Todoist Module: Displays your task list.
- Home Assistant Module: Shows the status of your IoT devices or smart home systems.
5.3 Step 6: Final Testing and Screen Orientation
Rotation: If you mounted your monitor in portrait orientation, adjust the Pi’s display orientation settings accordingly.
Test Connectivity: Ensure the display reconnects to Wi-Fi automatically and restarts MagicMirror² without manual input after power loss.
Brightness: Adjust to a comfortable, low level suitable for an always-on display.
Alternative Smart Display Software (2026 Options)
While MagicMirror² is the most popular choice, you can also try these alternatives:• Dakboard – Simple web-based dashboard
• Home Assistant Dashboard – Best for smart home users
• Grafana – Best for data monitoring dashboards
• Fully Kiosk Browser – Android based dashboard setup
• WallPanel – Lightweight dashboard solutionThese options are useful if you want different layouts or smart home inte
6. Conclusion and Your Next Upgrade
Congratulations! You’ve completed the easiest project in our guide and learned how to convert monitor to smart display. Knowing how to convert monitor to smart display opens up endless automation possibilities. You now have a functional, stylish information hub powered by an upcycled mindset.
This understanding of Raspberry Pi and headless software setup prepares you for more advanced projects. Ready to integrate physical controls into your smart home?
👉 Return to the Main Guide for the next challenge:
🔗 Explore the Full Series
This project is part of the DIY Old Gadgets Upgrade 2026 series — where we transform vintage tech into powerful modern tools. Read the full guide here →
FAQs: Convert Monitor to Smart Display DIY

Q1. Can I use any monitor for the Convert Monitor to Smart Display project?
Ans. Yes, you can use almost any monitor that supports HDMI, DVI, or VGA input. For older monitors, just use an HDMI adapter to connect it to your Raspberry Pi.
Q2. Do I need coding skills to Convert Monitor to Smart Display?
Ans. No, coding skills aren’t required. The setup is beginner-friendly — mostly plug-and-play with a few simple commands. You can follow the MagicMirror² setup guide online.
Q3. Which Raspberry Pi model works best for converting a monitor into a smart display?
Ans. Raspberry Pi 4 is ideal due to better performance and faster processing, though Raspberry Pi 3B+ also works fine for basic dashboards.
Q4. What software is needed to Convert Monitor to Smart Display?
Ans. You’ll need MagicMirror², Raspberry Pi OS, Node.js, and Balena Etcher for flashing the operating system to your SD card.
Q5. Can I display custom content on my smart display?
Ans. Yes — you can show Google Photos, calendars, to-do lists, weather, news feeds, and more with MagicMirror² modules.
Q6. How much does it cost to Convert Monitor to Smart Display?
Ans. If you already have an old monitor, the total cost will be around $30–$50 for the Raspberry Pi and required accessories.
Q7. Can I control the smart display remotely?
Yes, once connected to Wi-Fi, you can control it remotely using SSH or VNC Viewer from another device.
Q8. Is it safe to keep the converted smart display on 24/7?
Ans. Yes, it’s safe. Just make sure it has proper ventilation and moderate brightness to prevent overheating.
Q9. Does MagicMirror² work offline?
Ans. Yes, basic modules like clock and calendar work offline. However, live updates such as weather and news need an internet connection.
Добро пожаловать! Намечаю поездку в Испанию и собираюсь узнать больше о ключевых местах и курортах страны. Главным образом интересуют такие направления, как Путь Святого Иакова (Camino de Santiago), Тейде и Канарские острова, вместе с Ла Пальма с её вулканом. Если кто-то совсем недавно был в Барселоне, Малаге или Аликанте, сообщите, пожалуйста, опытом — где предпочтительно остановиться и что осмотреть.
Также ищу информацию по городам типа Сарагосы, Кордовы и Ронды, а еще интересуюсь, где размещена Ибица и как прибыть до острова Тенерифе на карте. Было бы круто узнать про удивительные места с архитектурой Гауди и собором Святого Семейства. Для тех, кто стремится глубже познать тему, есть важный ресурс cartagena с подробными маршрутами и советами. Буду довольен за любые советы и предложения!
ремонт водонагревательных баков ремонт электронагревателей воды
ремонт принтера hp москва свао ремонт принтеров hp москва ювао
ремонт принтеров hp москва адреса в зао https://servis-hp-moskva.ru/